First-Person Shooter: Start screen, Summary screen
This is Elympics First-Person Shooter tutorial: part 12. In this part we’ll create start and summary screen at the end of the game. See: Part 11.
With the game divided into three stages, you can begin implementing the start screen. Thanks to it, players will be able to prepare for the match.
Start screen
Start by creating a simple UI object that will be your start screen in the scene:

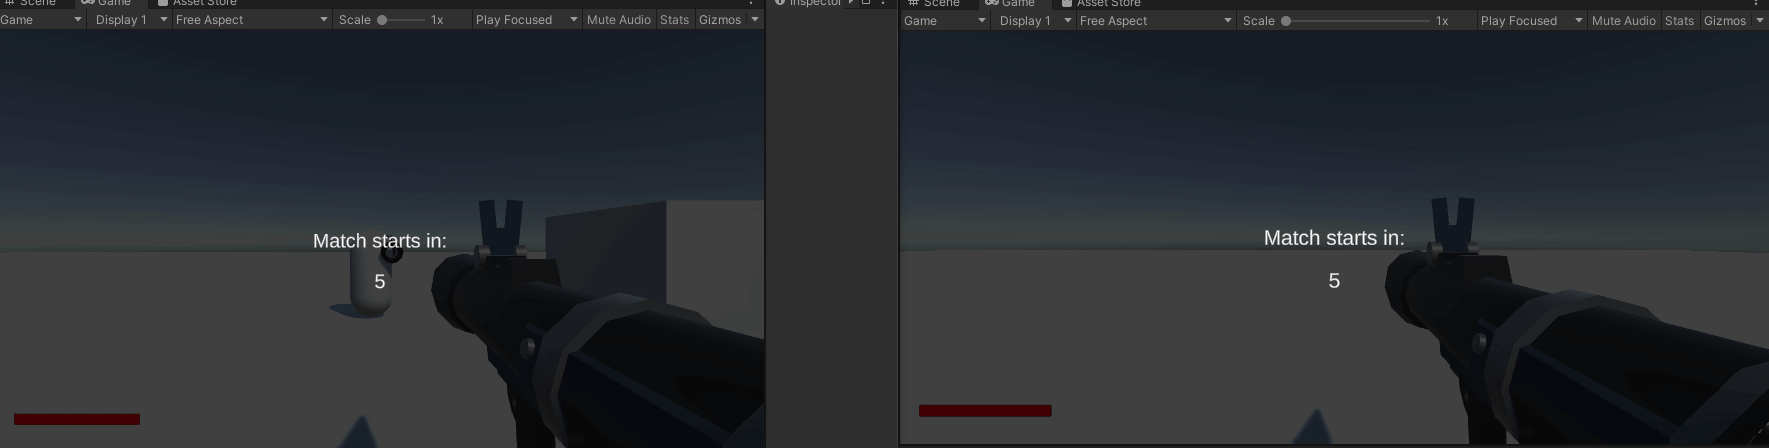
In the above example, the start screen consists only of a darkened background and text fields that will display the time remaining until the start of the game.
The created object will also need a script that will control it: GameInitializationScreen.cs:
public class GameInitializationScreen : MonoBehaviour
{
    [SerializeField] private TextMeshProUGUI countdownToStartMatchText = null;
    [SerializeField] private CanvasGroup screenCanvasGroup = null;

    [SerializeField] private GameStateController gameStateController = null;
    [SerializeField] private GameInitializer gameInitializer = null;

    private void Awake()
    {
        gameInitializer.CurrentTimeToStartMatch.ValueChanged += UpdateTimeToStartMatchDisplay;

        ProcessScreenViewAtStartOfTheGame();
    }

    private void ProcessScreenViewAtStartOfTheGame()
    {
        SetScreenDisplayBasedOnCurrentGameState(-1, gameStateController.CurrentGameState);
        gameStateController.CurrentGameState.ValueChanged += SetScreenDisplayBasedOnCurrentGameState;
    }

    private void UpdateTimeToStartMatchDisplay(float lastValue, float newValue)
    {
        countdownToStartMatchText.text = Mathf.Ceil(newValue).ToString();
    }

    private void SetScreenDisplayBasedOnCurrentGameState(int lastGameState, int newGameState)
    {
        screenCanvasGroup.alpha = (GameState)newGameState == GameState.Prematch ? 1.0f : 0.0f;
    }
}
This script works very similarly to the DeathScreen.cs script created before. You need two references: one for the text field in which you’ll be displaying the current state of the timer and another one for CanvasGroup: a component that will control the display of the entire object.
You’ll obtain all the necessary information from two other scripts:
GameStateController: receiving information about the current state of the game will allow you to decide whether the entireGameInitializationScreenobject should be visible or not;GameInitializer: from this component, you’ll obtain information about the current value of the timer counting down to the start of the game.
The entire GameInitializtionScreen.cs script will be executed locally, so it doesn’t need any Elympics components. All the information received from other scripts uses ElympicsVars, so you can be sure that all the actions performed on their basis will be consistent with the actual state of the game.
The Awake() and ProcessScreenViewAtStartOfTheGame() methods are used to initialize the entire script at the start of the game: you subscribe to the appropriate events, from which you’ll obtain information on the basis of which the entire object will be operated.
The UpdateTimeToStartMatchDisplay() method, similarly to the DeathScreen.cs script, receives the current value of the timer of the GameInitializer class. The obtained value is modified using the Ceil method and then written to the appropriate text field: countdownToStartMatchText.
In the SetScreenDisplayBasedOnCurrentGameState method, you modify the alpha value of the CanvasGroup component depending on the current state of the game. The object should only be visible when the game state is Prematch.
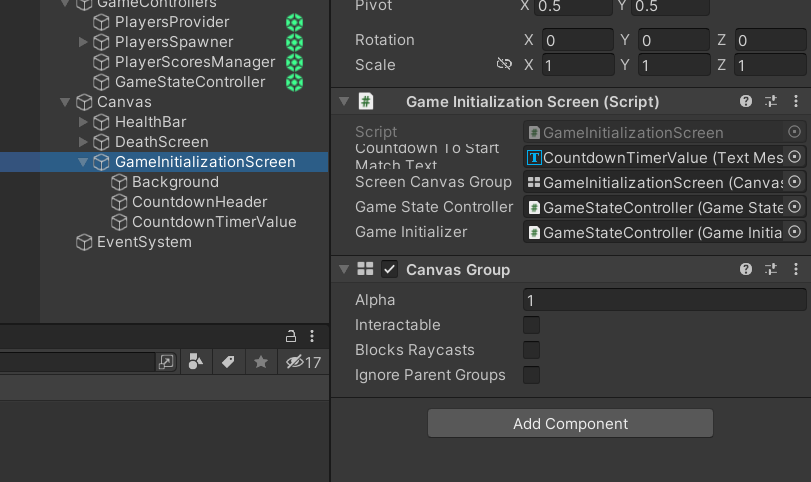
The created script is added to the game scene and filled with appropriate references:
From now on, the game will count down the defined amount of time before the start of the match. Each player will see the GameInitializationScreen that will show the time remaining until the start of the game.
End screen
The next step is to create an end-of-game screen. Its logic will be very similar to the previous GameInitializationScreen script. So, start by creating a new class.
public class GameEndedScreen : MonoBehaviour
{
    [SerializeField] private TextMeshProUGUI gameWinnerText = null;
    [SerializeField] private CanvasGroup screenCanvasGroup = null;

    [SerializeField] private GameStateController gameStateController = null;
    [SerializeField] private PlayerScoresManager playerScoresManager = null;
    [SerializeField] private PlayersProvider playersProvider = null;

    private void Awake()
    {
        playerScoresManager.WinnerPlayerId.ValueChanged += SetWinnerInfo;

        gameStateController.CurrentGameState.ValueChanged += SetScreenDisplayBasedOnCurrentGameState;
    }

    private void SetWinnerInfo(int lastValue, int newValue)
    {
        var winnerData = playersProvider.GetPlayerById(newValue);

        gameWinnerText.text = $"Player {winnerData.transform.gameObject.name} won the game!";
    }

    private void SetScreenDisplayBasedOnCurrentGameState(int lastGameState, int newGameState)
    {
        screenCanvasGroup.alpha = (GameState)newGameState == GameState.MatchEnded ? 1.0f : 0.0f;
    }
}
This script, just like the previous one, makes the entire object visible if the game state is MatchEnded. Also, when the WinnerId variable in the PlayerScoresManager script is changed, the information about the winner displayed to your players will be updated.
Like in the case of the previous screen, at the start of the game, you create a new object that is your final screen. Then, you add the created script to it and complete it with the missing references:

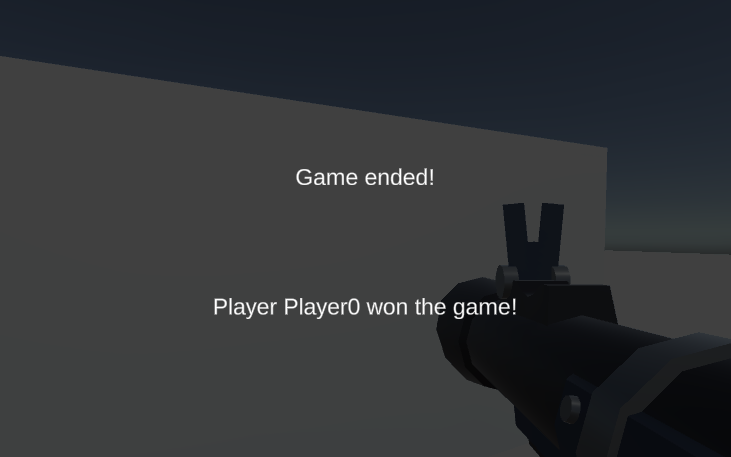
Game ended!
From now on, at the end of the game, all players will see an appropriate screen informing them about the end of the game and the winner:
In the next part we'll explain how to synchronize animations. 🤸♀️🤾